Hey everyone! I know some of you, like me, harbor a fondness in your heart for a chilled adult beverage. Enjoyed responsibly, of course.
However, some of us may be restricted to a very tight budget.
Today I am bringing you the results of a little exbeeriment I have undertaken to create a decent, drinkable and inexpensive ginger beer… like people used to make in the dawn of the 19th century.
I have taken liberties of course, as I had a surplus of culinary herbs in my front container garden at the time that I made this last year.
You’ll notice I have made this as budget-friendly an attempt as possible.
Want to join me? Of course you do. Gather a few ingredients, and let’s go!
Brewing materials. I have chosen some extremely simple materials, a majority of which you already have floating around your house *somewhere.*
A gallon vessel, most commonly known as a reusable glass jug. If you don’t have one, I recommend going to the grocery store and buying (yes, I know it’s more expensive, but about the same cost as buying an empty one new elsewhere) a gallon of apple juice, or just going to your local liquor store and buying a gallon glass jug of wine. It’s about $10. Less, if it is apple juice, unless you live on one of the coasts. This is otherwise known as a one-gallon carboy. Depending on its origin, the size of the neck of your glass carboy may vary. The manufacturing standards that they are held to seem to be fairly loose. This is where a measuring tool such as a caliper may come in handy, and as always, your friendly local brew supply shop will be more than happy to help. I hope that you’ll find one in your area and check it out.
A funnel that will fit into the neck of the vessel. Plastic ones are fine. Metal ones are fine. Just make sure it is clean and sanitary!
A large metal saucepan that will hold the wort while you boil the sugars and ingredients to completion, hopefully one with a lid so it can rest safely while it cools.
A drilled bung, which is a plug with a hole in it that goes into the neck of your carboy.
An airlock, which is a funny-looking piece of plastic that goes into the top of the drilled bung.
A sieve, which you can pour the boiled wort through after it has cooled, to capture the ginger and other solids that may be hiding in the wort, such as herbs or tea leaves, etc. The same can be done with a hops or grain bag, but that would come later, should you choose to embrace this hobby. We’re just going to test the waters right now.
Sanitizer! I cannot stress the importance of this enough. You are creating the perfect environment to propogate microorganisms. We need to make sure that only the ones that you want to have in your beer get in there! You can use StarSan or Sulphite Crystals to make a no-rinse sanitizer that will work for you.
A budget version of this? 1 tablespoon of bleach per gallon of water. Let all materials soak in this solution for 20 minutes, the carboy, the funnel, everything, then drain and drip dry. Somewhere, a purist screams in agony. This is merely a budget option. There are always budget options. Don’t hate. I learned how from someone that learned how when Prohibition was in full effect. Corners have been cut.
So, let’s go over the necessary materials. There are many more and much nicer ones available, but for this project, I’ve decided to focus on only the bare minimum needed to produce a drinkable, slightly alcoholic beverage as quickly as possible. I know the options are vast! This one was fast, simple, drinkable. Tried and true, with readily available ingredients.
Large Metal Saucepan
Gallon Carboy
Sieve
Funnel
Drilled Bung
Airlock
Sanitizer
Sanitize all of your equipment first 😀 We don’t want any nasties. Thankfully, brewing is one of the most ancient forms of water purification, nothing can live in beer that will harm you. (EDIT: “Yes, pathogens can survive in beer. But the chances of them causing you harm are negligible. The other bad health effects of ethanol are a far higher risk than is the minimal risk of infection.” –source ) It may have some off flavors, but as a famous homebrewer once said, relax.


OK! Now that we have that half under control, it’s time to look for ingredients! Since this is a very rustic and simple recipe, the measurements are rustic and simple, too.
Fresh, raw and whole Ginger root. One to two ounces will do.
Brown Sugar or Turbinado Sugar, One and a half to Two cups will do.
I am not a fan of bleached white sugar. For budgetary purposes, you could use white table sugar.
However, it will affect the flavor, lending a cidery hint and the esters hold a strange aftertaste to me.
We also need a shot glass full of Cream of Tartar, which is a Tablespoon or two. This will make it behave like actual wheat beer, and have a good head on its shoulders.
You could also add a tablespoon or two of lemon juice, or a half teaspoon of lemon zest, but my husband is allergic to citric acid, so we just don’t have citrus in the house.
You can see pictured below, where I have snipped off a few little pieces of rosemary, mint and basil to add a little household culinary herb flavor to this brew. You could also add some loose leaf or a bag of your favorite tea to lend some of that flavor to this as well. The options are endless.
Yeast. We need brewer’s yeast!!
Some purists are going to yell at me for suggesting this quick and dirty method. We need yeast for this ginger beer. No, not baker’s yeast. That’s effective, but tastes bready and gross and makes your head spin. (I don’t like drinking things that have been fermented with baker’s yeast. 😛 blecch, and the hangovers are terrible.) We need some brewer’s yeast, and quick!
Do you have a favorite beer sitting around? Pour yourself a glass and leave the dregs in the bottom of that bottle. Do not drink from that bottle, just leave an inch or two in the bottom…”leave a little bit for Jesus,” they say. (Those monks may have been on to something.) We are going to take those dregs from the bottom of that bottle and make more of that yeast we need so badly. We’ll get into the details of that later.
Head to your local grocery store and find some Ginger. A big ol’ root will do just fine. Anything from 1-2 ounces.
Here you can see I have a generous portion of ginger.

I have weighed out an ounce or two, and placed it in a plastic zip-top bag.

And then I let my aggressions out on this bag with a meat tenderizer. You could do the same with another pan, hammer or other smashing device. Careful that you don’t beat the ginger out of the side of your zip-top bag! There will be good juices in there, too. Get it all flattened out!
You’ll also need a shot glass full of Cream of Tartar. I prefer to get this in the bulk section of my local Natural Grocers. I am sure most of these ingredients are easy to locate in your area.


To that you’ll want to add about two cups of brown or turbinado sugar. It’s a flavor preference thing. You could do just plain old white sugar if you wanted, but that would change the flavor a bit. For budget’s sake, let’s say white sugar, but it does have a tinge to it that I am not the biggest fan of.

Any additional flavorings are up to you and to your discretion. It’s common to add lemon juice or zest, but I will refrain from that and just toss in some culinary herbs that I had growing in some containers out in front of my home. Mint, basil, rosemary. Don’t go overboard. Or do! If you are the particularly adventurous type, I don’t see why you couldn’t add a favorite tea.

So, now that you’ve sanitized your items and gotten everything ready to go, let’s get to it. Fill that glass carboy about 2/3 of the way full of water and dump it into your pan. Throw all of these ingredients unceremoniously (or ceremoniously, if that’s your thing) into the pan.

Boil, boil!! Boil for an hour.

Put a lid on it(sanitized, right?) and just let it cool in a neglected area for a few hours to room temperature. Then pour your liquid through the strainer into a separate saucepan that you have also sterilized, or fish out the items from your liquid (it’s wort, now btw). Whichever is easier. As long as it’s room temp now.

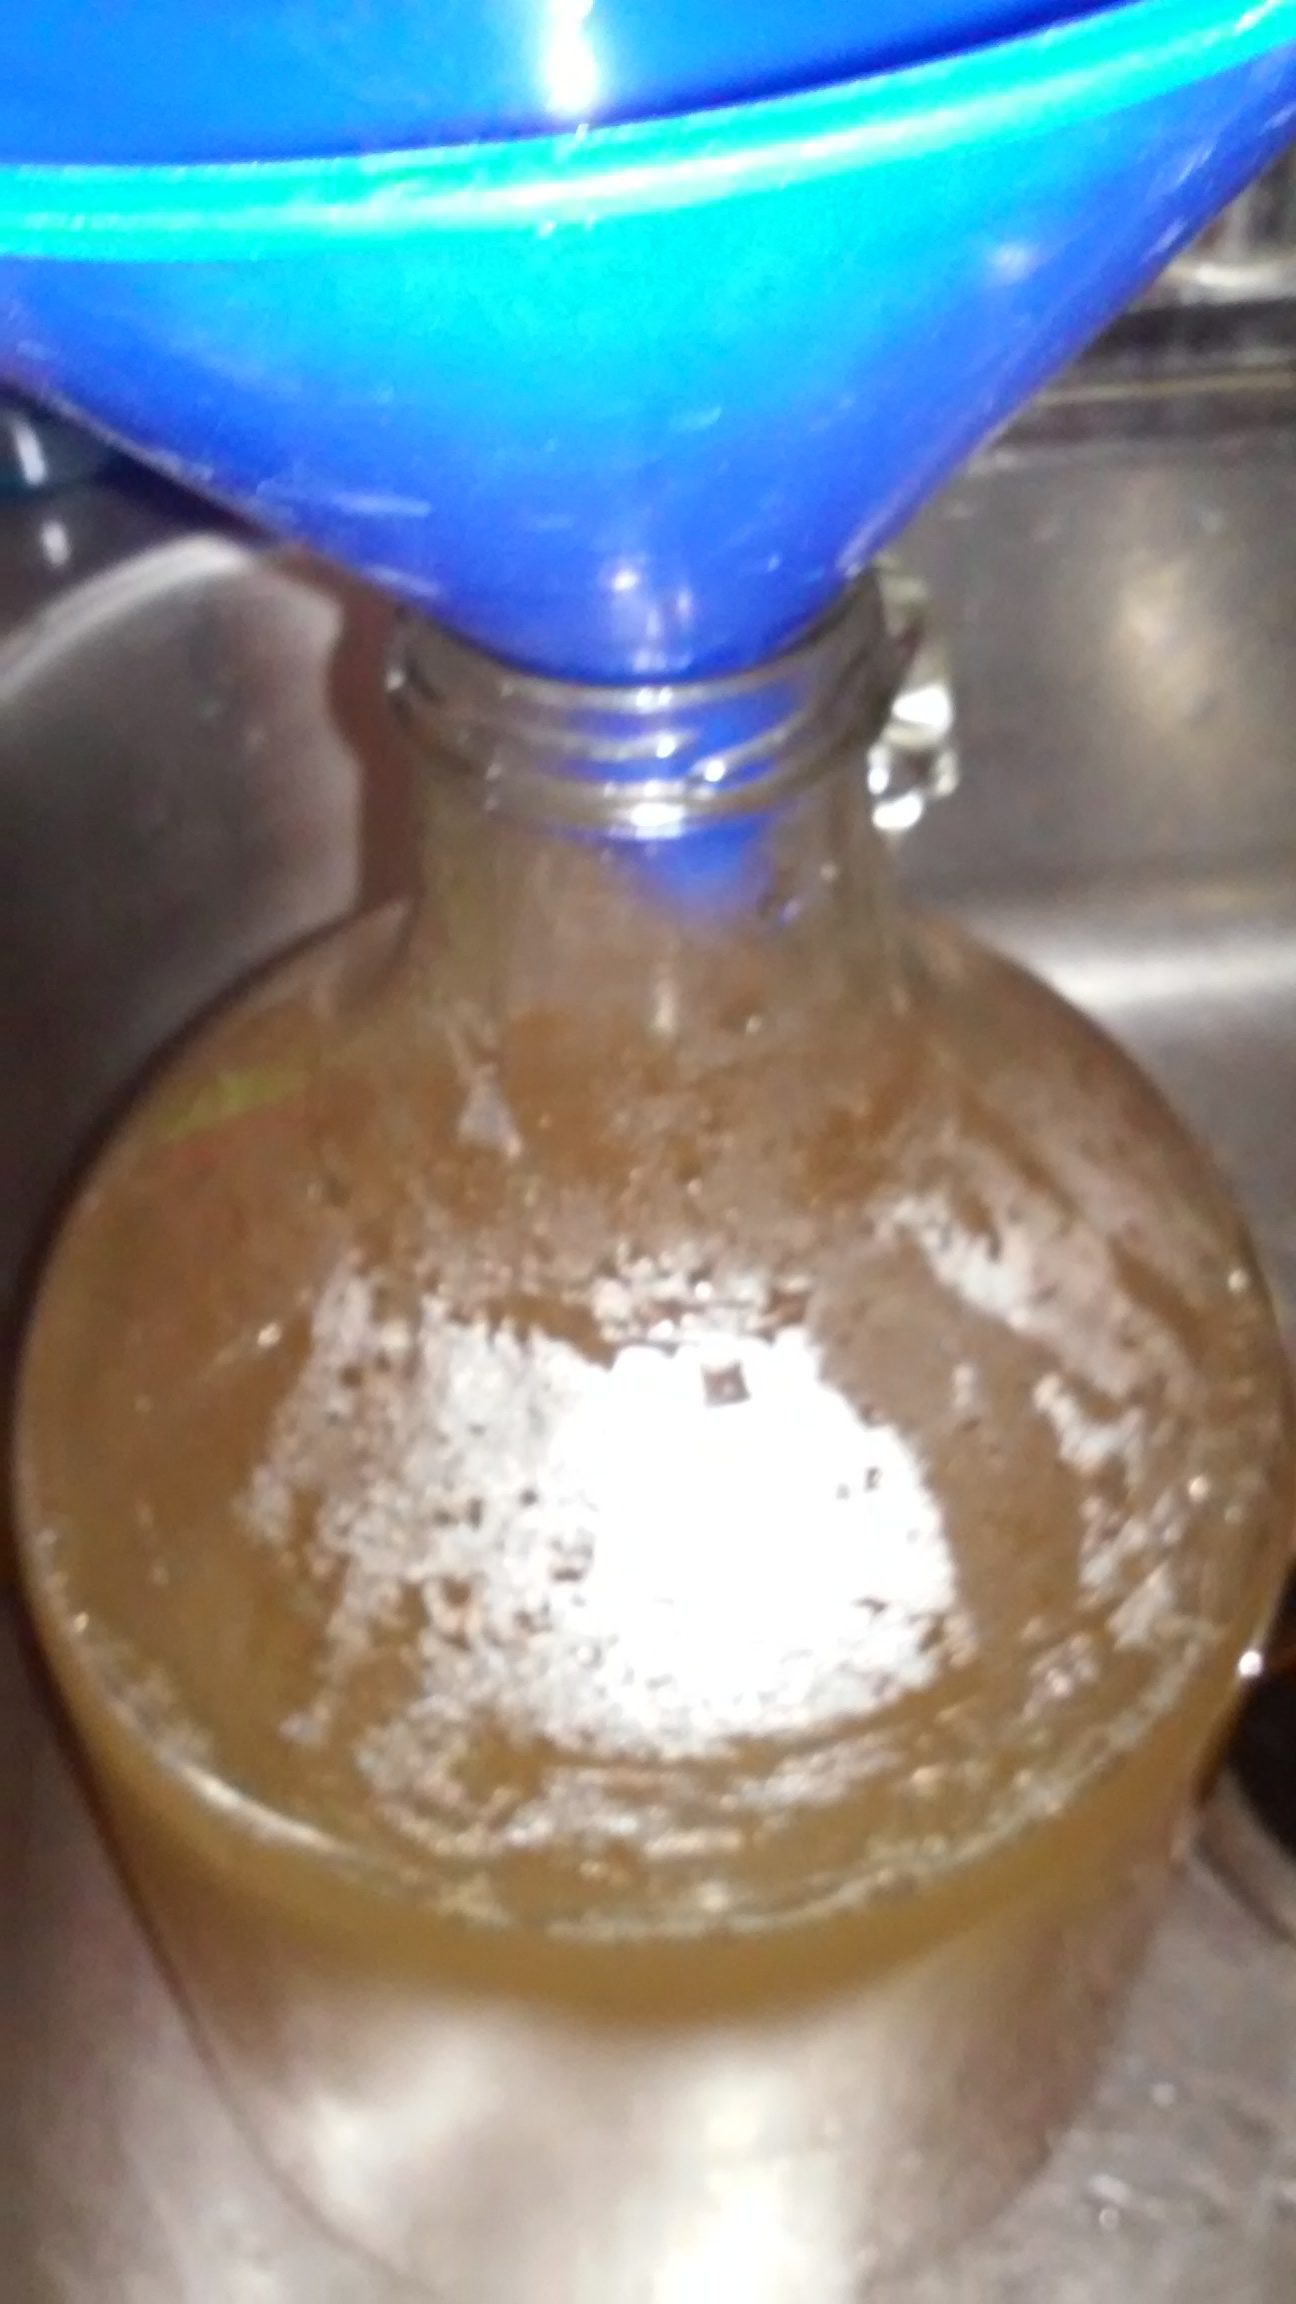
It is now time to pour the cooled liquid into your carboy with the funnel you sterilized earlier. Place your airlock into the drilled bung. Add water to the fill line of your airlock, and secure the lid.
Now it’s time to add the yeast.
We are now going to use dregs at the bottom of your favorite beer(that you have not put your mouth against! No!) Pictured is a strain of Safale 04 that I enjoyed some Summer Honey Wheat from – to which I added a little bit of a White Labs strain from a smoky porter, which had some of a previous batch, and so on, and so on…

How we do it is this:
Get your cold beer, a bottle opener, and a glass to pour your beer into. Are you next to the funnel? Good. Open your beer. Pour it into the glass. Do not touch the lip of the bottle to the glass. Leave a few inches in the bottom of your bottle. Empty that bottle into the wort. Remove the funnel and place the drilled bung with airlock into the neck of the carboy, effectively sealing it.
Now that the yeast has been pitched, it’s time to set our wort aside in a dark, neglected area. Leave it there for about a month. It will become quite active over time, and in this blurry photo, you’ll notice that I left plenty of headspace between the surface of the liquid and the drilled bung.
Blurry photo, but you get the idea, I hope.
When I return for part two of this tutorial, we will address a quick bottling and capping process that utilizes an autosiphon, a capper, caps, and bottles.